Free e-book! "The complete guide on how to avoid mistakes in creating mobile apps" DOWNLOAD NOW
 ![]()

Free e-book! "The complete guide on how to avoid mistakes in creating mobile apps" DOWNLOAD NOW ![]()
Tomek Antkowiak
06/11/2018 • 6 min read
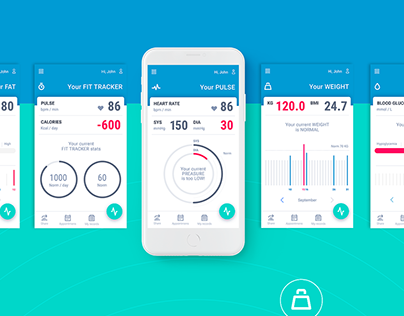
Augmented Reality (AR) is here to stay in the mobile app market, and its popularity is still growing. Games like Pokemon GO revealed the potential for commercial success of this technology. In this tutorial, I’m gonna show you how easily you can start making your own AR apps with Unity and Vuforia.
Vuforia
Vuforia is a Software Development Kit (SDK) for creating AR apps. It uses Computer Vision to track images and 3D objects in real time. This allows putting virtual 3D objects in relation to real-world objects at the camera screen.
Vuforia is not open source, but it has a free version and the price of the full version is reasonable.
This tutorial contains the Vuforia Engine in version 7.5 which was introduced on September 26, 2018, so it is the newest version available at the time.
What you’ll need
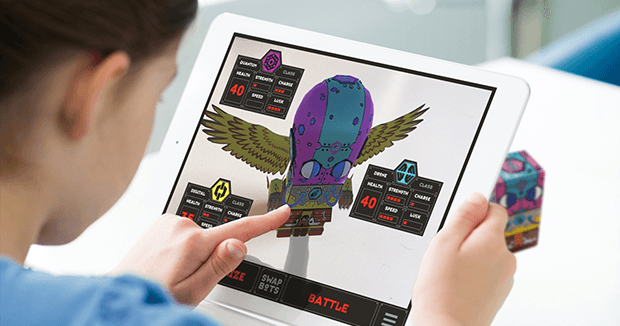
In this tutorial, we will create an Android app that will recognize an image in the real world and display its 3D model.
To make it you will need:
So let’s get to work and have fun
Creating project in Unity
Create a new 3D project in Unity. Now you have to set build configuration of Unity so that it will build for the Android platform. Go to File->Build Settings, choose Android and press Switch Platform.

Next, we have to set other build settings required by Android apps, for example, the package name, icon, minimum SDK version, etc. To do this, press Player Settings… button in the Build Settings window. In the new section in Unity inspector we have to set 4 parameters:

Additionally, in XR Settings tab toggle Vuforia Augmented Reality Supported option. After this new folder named „Resources” will appear in your project. It will contain „Vuforia Configuration” file.

That is all regarding to configuring Unity project. We can handle Vuforia now.
Working with Vuforia
Sign up for Vuforia developer platform
Go to Develop tab and press Get Development Key button. Create a new project and when it appears on the list, go into project details. You have to copy the license key of the app. It is required by Vuforia to work.

Next, in the Develop tab, go to the Target Manager subtab. There you can create a database of objects that Vuforia will be able to recognize. There are 3 types of databases: Device, Cloud, VuMark. We want the Device option (it is the only possible option in the free version of Vuforia) and you will be able to download it and import it into Unity.

When our database is set up, we have to go into its details. We have to add a new target. A target is an object that Vuforia will recognize and work with. There are 4 types of targets:
Single Image (that is our pick), Cuboid, Cylinder, 3D Object.
Next, we have to upload an image file, input its width and name it.

After adding the target, it will appear on the target list. It is worth to pay attention to the ranking of targets. The higher, the better. It means that an image or object with higher ranking has more specific points (features) for Vuforia to recognize it. In my case, the image has the highest possible ranking (you can even check features in the target details).

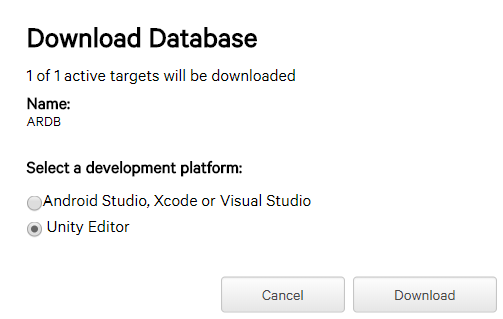
When we add all of our targets, we choose which ones we want to have in our Unity package. After this, we press the Download Database button. We must choose Unity Editor as a development platform. Thanks to that the file will be importable to our engine.

The process of working with Vuforia is now done. We can go to Unity, where we will make use of the Vuforia magic.
Using Vuforia in Unity
We have to import our database to the Unity project. We can do this by choosing Assets->Import package->Custom package and picking our file.
If you don’t install Vuforia with Unity you have to import this file (Vuforia Unity Extension). You can import it in the same way as the database.
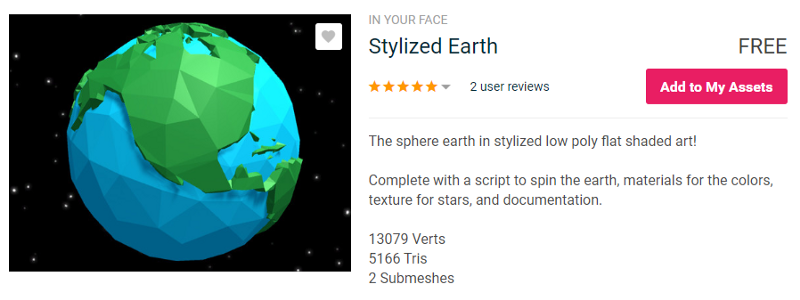
For our app to have some kind of sense we have to have a 3D model to show to the user. You can download it for free from Unity Asset Store. You can go there by choosing Window->Asset Store from Unity menu. You can choose whatever model you like, I choose great low poly earth asset called „Stylized Earth”.
Now we have all the ingredients to make our app.
To work Vuforia uses a special camera object called AR Camera. We have to delete the standard Unity camera and then, from our assets, we must choose AR Camera and place it on the scene. In the scene hierarchy, click a right mouse button and from the menu that will appear, choose Vuforia and then AR Camera. If required import Vufoira Assets in the pop out. Set the position of it to 0,0,0 and go to Vuforia configuration.

You have to add the license key in Vuforia configuration.

If our app wants to recognize objects in the real world, we have to add these objects to the scene. An object that represents a Single Image is called simply an Image. You can find Images in the same menu as AR Camera. After adding it to the scene set its position to 0,0,3 and in the Image Target Behaviour script of this object set a database to our database and image target to the corresponding element. From now on Vuforia will recognize our image in the real world.
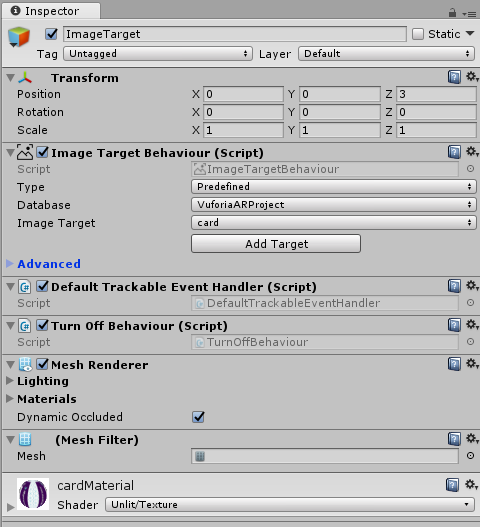
The last thing to do is to add a 3D model as a child object of the Image and set its position to 0,0,0. Now go back to Vuforia Configuration, set Dataset for our database and activate it.

And that’ all. Now you have to simply build a project into apk file and install it on an Android device. To do this go to File->Build Settings and press Build button. In the app all you have to do is point your camera to the chosen image and your model will appear.
Result
In the end, we have an app that can track an object in real life to show a 3D model with animation.
VR MODE
If you want to turn on Vuforia VR Mode and be able to use your application with Google Cardboard you have to configure two things.
Firstly go to Player Settings and in the XR Settings tab, enable Virtual Reality Supported and then choose Cardboard as Virtual Reality SDK.

Secondly, in Vuforia Configuration set Eyewear Type as Video See-Through and then set Stereo Camera Config as Cardboard.
I hope that this tutorial was easy to follow, it showed you that creating AR apps ain’t hard and it boosts your creativity to create interesting apps using AR.
Android Developer, specialized in Java & Kotlin programming languages, with the knowledge of a few main game engines such as Unity, Play Canvas or Cocos2D.

Blog
Top 10 events for Startups in Europe you can't miss in 20194.4/5 - (17 votes) Being a Startup Geek isn’t easy when there are so many great events to attend. But is it worth booking a bus or plane, setting some...
Keep reading
ITgenerator sp. z o.o.
Poland
ul. Bielska 5C/2
61-435 Poznań
![]()
![]()